I’m now more confident in our ability to add a deck next summer/fall – Dad, not so much. There were some differences between the instructions and reality, and we did OK in resolving them – one involved another trip to Home Depot for another piece of lumber to re-drill (luckily, not a 12′ beam!). There were only two trips to the hardware store after assembly started – to acquire an impact wrench (best invention ever!) and the second beam of wood. There were multiple trips while I was prepping the wood however. I needed a longer drill bit (did you know a standard drill bit won’t fit through a 6″ beam of wood? – they sell extra long bits for this purpose), the right size socket for the impact wrench (there are special impact sockets), and I picked up an impact driver as well. I have to say, I really like the impact driver and wrench. Between the two, we were able to drive in 3 1/2″ lag screws pretty easily and attach the decking and rock wall very quickly.
My little brother said he was going to come over at 8am on Saturday, and he’s notoriously unreliable, so we planned for him to show up around 9 – he actually showed up around 10:30. So, we didn’t even really get started until 10:30-10:45 on Saturday. And lucky for us, it was one of the hottest weekends of the summer (yuck!).
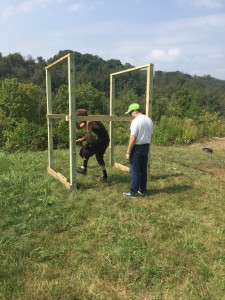
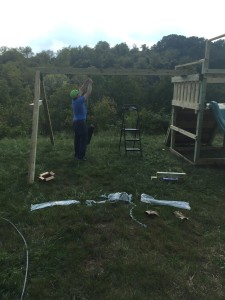
We started following the instructions, and set up the fort frame. Then quickly discovered that our “level” backyard isn’t so level. We had to dig out 4″ at the “front” of the fort to have it level. That took what seemed like forever. And the portion of the yard we put it in gets zero shade throughout the day – not morning shade, not afternoon or evening shade (And I forgot to put on sunscreen – ouch!).
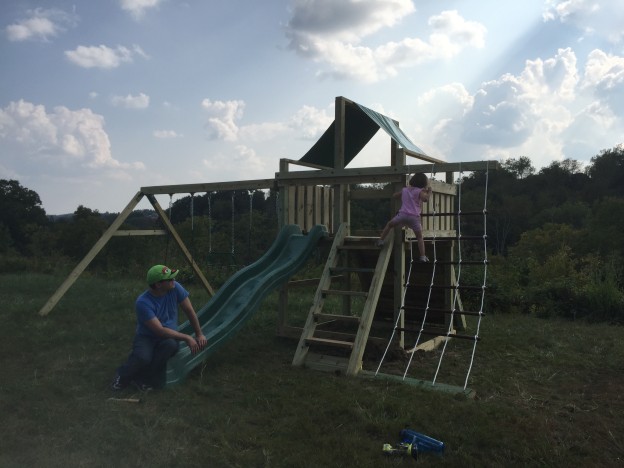
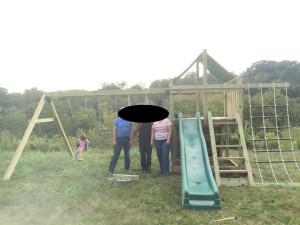
As you can see, the fort is a good size (6’x6′). We had to measure carefully, because there will eventually be a 10′ monkey bars hanging off the right side there.
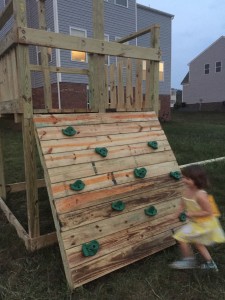
By lunch, we had gotten the basic frame of the fort done, and we ran into our first issue with the instructions. The side that holds the swingset needs a swingbeam (4x6x70″) instead of a simple panel. There were no holes drilled on the posts to put the carriage bolts through. So, I had to go get the drill, find the extra long extension cord and drill new holes – which weren’t quite straight since I wasn’t using the worktables in the garage. But, they worked, and we got the beam on. Then we went to put on the metal support for the swingbeam, and the holes weren’t drilled evenly (or even close to the holes in the support). My brother tried to fix it, but wasn’t super successful. He had to go to a party, so he and my mom left, and Dad and I continued and installed the rock wall. My mom and my brother were to come about 9am to resume helping.
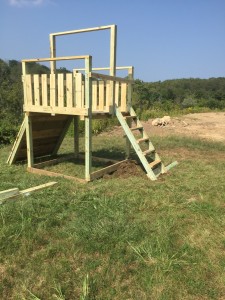
Again, my brother is not very reliable, so he and my mom showed up about 12:30 – after we had eaten lunch (and he was upset we didn’t save any pizza for him). While we were waiting, Dad and I were able to put together the ladder to get up into the fort, and attach the bottom beam for the rope ladder.
We had a few kludges here too. One, we had to work with Daughter Person around us and getting into all kinds of stuff, and the ladder didn’t fit into the opening 🙁 I hauled out the miter saw again and cut a few angles and solved that issue, then we had to contend with the un-level ground again, and dig in the bottom of the ladder and rope ladder. I hate digging.
At this point, my brother showed up and we decided to just go get a new beam for the swing support and re-drill the holes. My brother and Dad installed the slide and the rope ladder by the time I got home from Home Depot with the wood. I went back into the garage to drill the holes right (measured off the metal support thing rather than the tape measure!), and Dad went to rest his back and complain that he’s old.
We *finally* get the swing beam support up and attached and then we have to tackle installing the swing beam. That was probably the hardest part of the entire operation – and tempers were flaring. My brother almost broke the A-frame metal support by trying to connect the legs to the swing beam while it was vertical and then tipping it towards the fort. Turns out, following the instructions was the almost right move in this case: support the swing beam on the fort while attaching the legs, then walking the legs away from the fort. Then, you get to level the swing beam by pulling apart the legs (thus bending the A-frame support – just in a different way).
It’s done, we’re proud of it, and still talking to each other. Although, both of us are a little singed and very sore from using muscles that we don’t normally use. And, I don’t want to go outside until the temperature drops well below 90!

